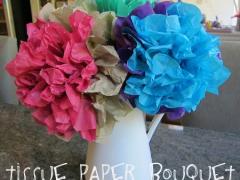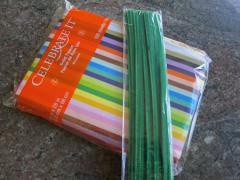
First select the color(s) you want your flowers to be; we used 2 or 3 colors for ours. Think they’d be beautiful with just a single color, too.
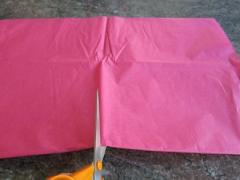
For our flowers, S & I used 3-6 sheets (half-sheets, that is.) It’s easier to separate the petals & fluff them (especially for small people) with fewer sheets; the more sheets you use, the fuller your flowers will be. I think a mix of different sizes actually looks quite pretty.
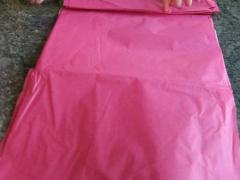
To get started, stack all your sheets on top of each other. Then begin folding your sheets up from the short end, accordion-style (i.e., fold, flip over, fold, flip over, repeat…) I clipped the end of our papers together so they would stay together easier for S as she flipped the stack over and back.
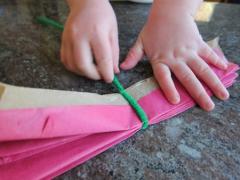
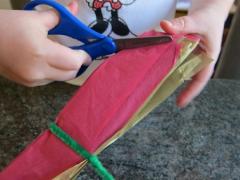
Then cut a design in the ends of the tissue paper to create the tips of your petals. You can just round the edges, cut a tip, or even a wavy shape. Note: This part was tough to do with a thick stack of tissue paper and kid scissors–you might need to assist with grownup scissors here.
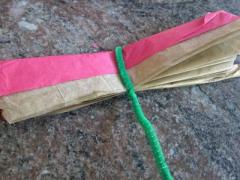
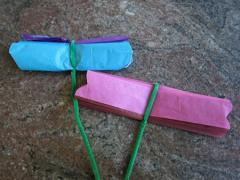
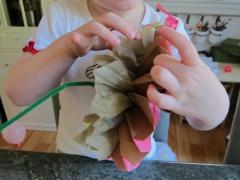
Then open up your flower, start to separate the tissue paper layers, and fluff away! We found that with a stack of 3 sheets, S could handle it pretty well on her own.
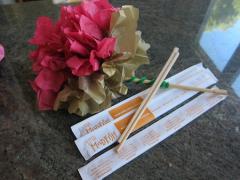
When we got a bit carried away and stacked 6 sheets, Mom needed to help out more… which I was happy to do – it was a such a satisfying project for both of us! Oh –and about that secret ingredient… We wanted to be able to put our flowers in a vase, but the pipe cleaners were too short and too bendy. I racked my brain for a bit and lit upon the perfect solution: chopsticks! We have plenty of cheap-o ones from take-out dinners, so we wrapped the pipe cleaners around them and they worked perfectly to stand our flowers up.
