How We Did It
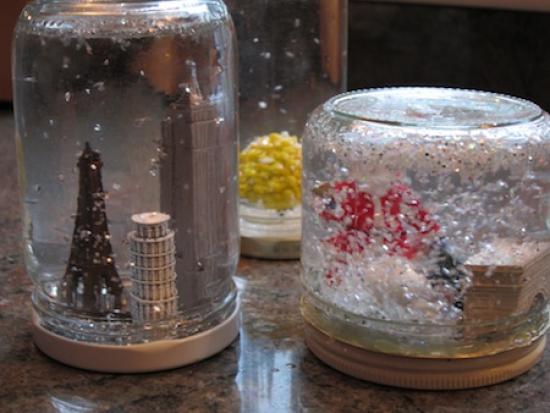
First, have your kids select the figures they want to use and arrange them on the lids. We thought this part was super fun… it’s like creating your own tiny mini-city. Two things to keep in mind before you glue the figures down: 1) make sure they’re not taller than your jar (we had to be sure to match the Empire State to the tall jar) and 2) be sure to leave enough space at the edges of the lid so you can screw them back onto the jar.

Once you all feel good about the arrangement of your scene, you can super glue the figurines to the lid. (I just love the assemblages: Empire State Building + Eiffel Tower + Leaning Tower of Pisa, Santa + Taj Majal + Arc de Triomphe and Big Ben + Statue of Liberty!)

You’ll want to let them dry for long enough to be sure the glue will hold. In the meantime, you can add water to the jars – fill them not quite to the threads to start (the figurines will take up space when you put them in.) Then add the glycerin – about a half-teaspoon, and the glitter – about a teaspoon. You’ll see we added quite a bit more than that – some of us MAY have gotten carried away when given free rein on the glitter. Then carefully screw the lid back onto the jar. You might want to do this over the sink in case there’s too much water in the jar when you put the figurine in. You can also check to see if you need to add a bit more water.
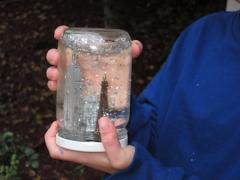
Shake them up and watch it snow!
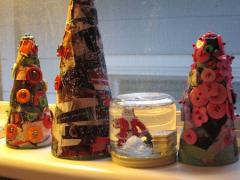
Note: I discovered my jar with Santa in it had a leaky fit after it was all complete. To salvage it a bit, I rimmed the lid with hot glue. It didn’t completely solve the problem, but made us able to shake the jar a bit and enjoy it. But these are creations that stay on the kitchen windowsill, just to be on the safe side! And I think they look lovely next to our Mod-podge Magazine Christmas Trees!

