One of the children I look after attends pre-school in the morning and spends the afternoon with me. When I collected her this week she came out clutching a little chocolate prettily wrapped in celophane. ‘Ooooh’ I exclaimed, ‘did you make that at pre-school?’ ‘No’ she replied, ‘the pre-school lady gave it to me’. Whhhaaat!! What was the point in that? What had she learnt by being given a chocolate to give to her mummy? Why hadn’t she been involved in making the chocolate? What a missed opportunity for learning. Still it wasn’t too late, I could still do a chocolate making activity with her that her pre-school should have done!
Without much time left before Valentine’s Day, I had planned to go with the way we’ve made chocolates in the past – break the chocolate into a bowl, melt it over boiling water, spoon into molds (while giving lots of warnings about the bowl being hot!). However as I was looking for chocolate today in Asda, I had another idea! In the bakery aisle I noticed they were selling chocolate for decorating cakes in a handy foil sachet that you just drop into hot water to melt, snip the corner and pour. What a brilliant idea! That would make the whole chocolate making process so much easier. Oooh but then I had an even better idea, I’m sure we could make our own foil sachets for melting chocolate. I had a go today and it worked!
Here’s what I used:
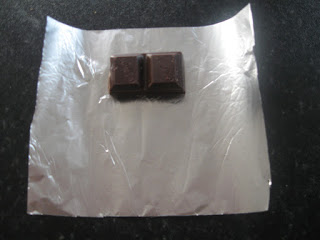
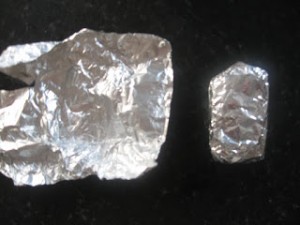
Bar of Cadbury’s chocolate (or any chocolate!)
Aluminium Foil
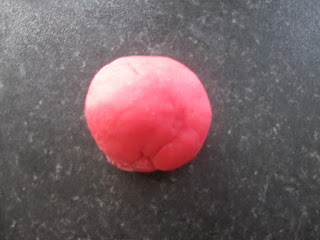
Play dough
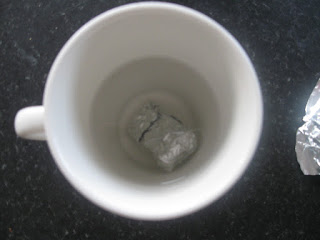
Cup of hand hot water
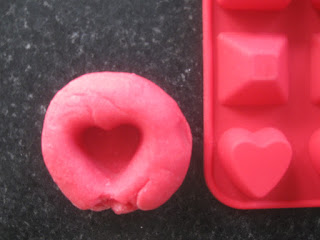
Shape or object to imprint into dough
And here’s what I did:

Break off a couple of chunks of chocolate and wrap in foil. Make sure this layer is nice and tight around the chocolate.
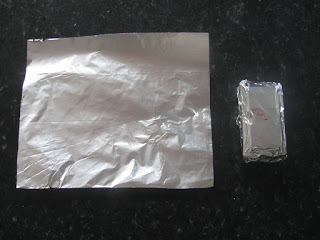
Wrap the chocolate in a second layer of foil.
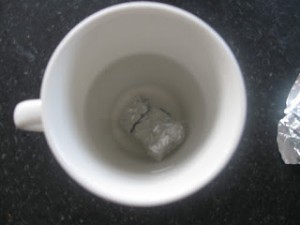
Then drop the wrapped chocolate into a cup of ‘hand hot’ water. It needs to stay in here for approximately 10 minutes until melted.

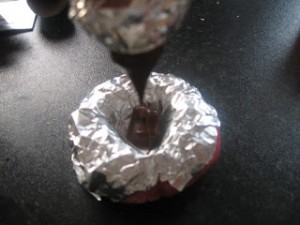
While the chocolate is melting, roll the playdough into a ball a bit bigger than the object you plan to imprint.

Then imprint into the dough. I was in a bit of a rush so just used a silicone ice cube tray.
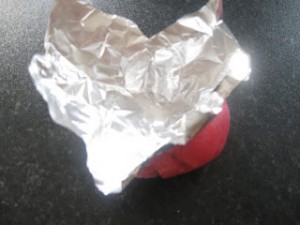
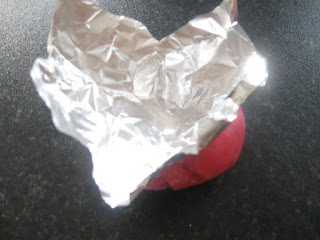
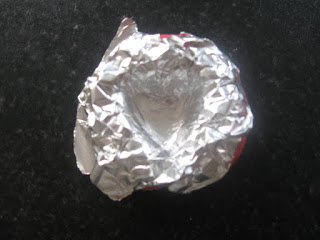
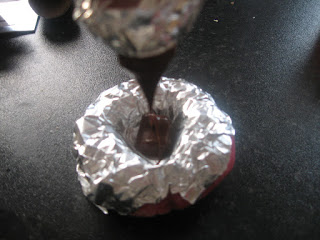
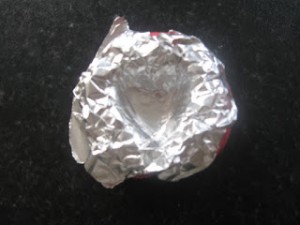
Line you imprint with foil (you don’t want your chocolate tasking of playdough!)
This bit might be a bit tricky for the little ones but I’ll let you know how they get on on Monday.
Then you need to take your melted chocolate out of the water, remove the first layer of foil and snip the corner of the second.
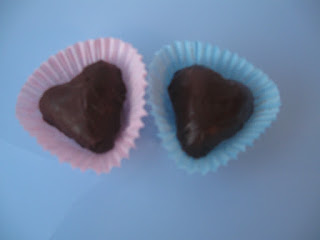
Squeeze the chocolate into the mold.

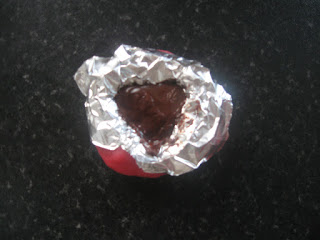
Then put into the fridge to set.

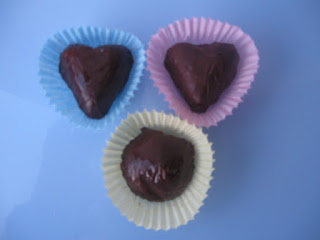
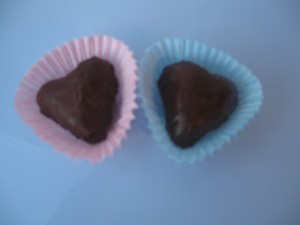
Once the chocolate has set you can remove them from the foil.