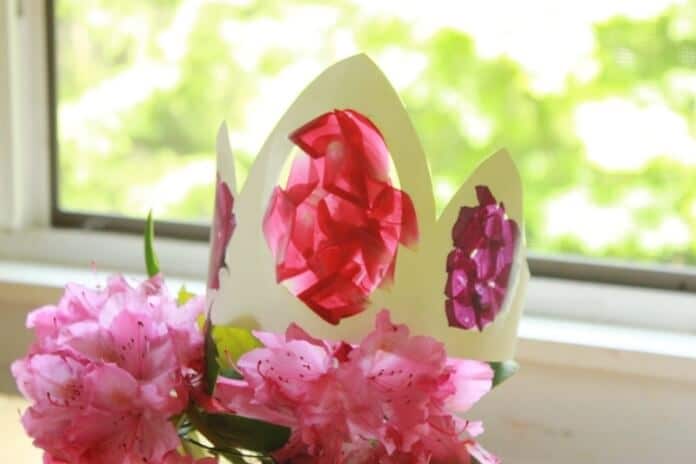
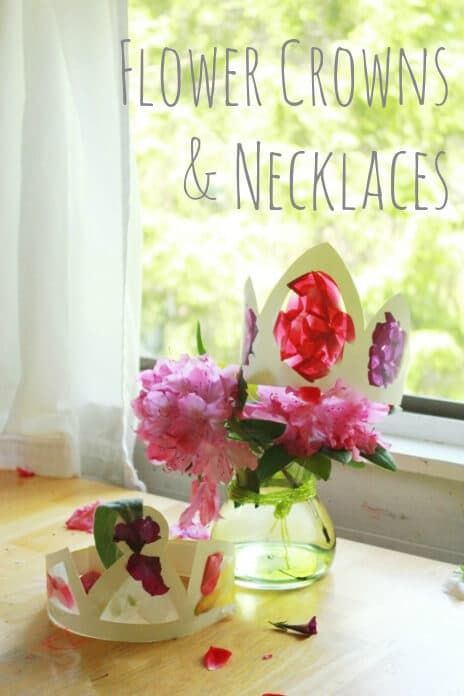
We made some beautiful flower crowns yesterday. Necklaces, too. So easy and yet really quite stunning. It seems the perfect lazy summer activity as well—to celebrate summer, for pretend play accessories, as a party activity, or just because.
Here’s how we did it…
HOW TO MAKE FLOWER CROWNS
MATERIALS
- Posterboard, cardstock, or heavy paper
- Drawing tool, such as a pencil
- Scissors
- X-acto knife
- Self-healing cutting mat or piece of cardboard
- Transparent contact paper (sticky back plastic)
- Flowers
- Tape
INSTRUCTIONS
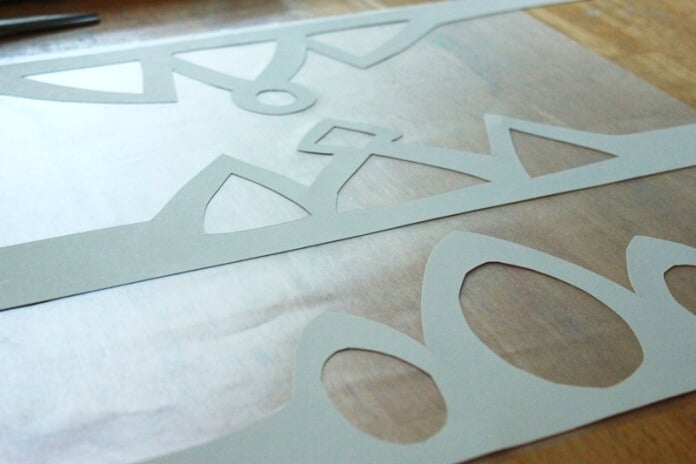
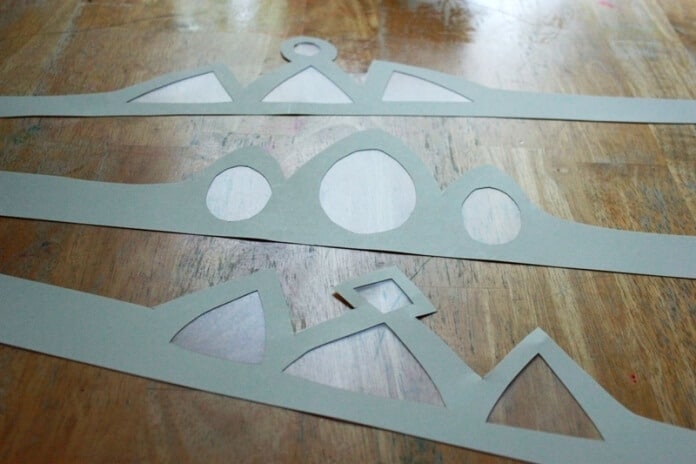
1. Draw the crown shapes on the posterboard, sketching in large-ish inset sections where the flower decorations will go. Cut out the the crown. Scissors work best for the outside of the crown and an x-acto knife will work best for cutting out the insets. Make sure to protect your work surface with a cutting mat or cardboard if using an x-acto knife.
2. Pull the paper backing off a piece of contact paper and lay on table, sticky side up. Press the crown to the contact paper then cut away the excess contact paper from the outer edges.

3. Press flower petals to the contact paper, creating a bejeweled, stained glass effect.
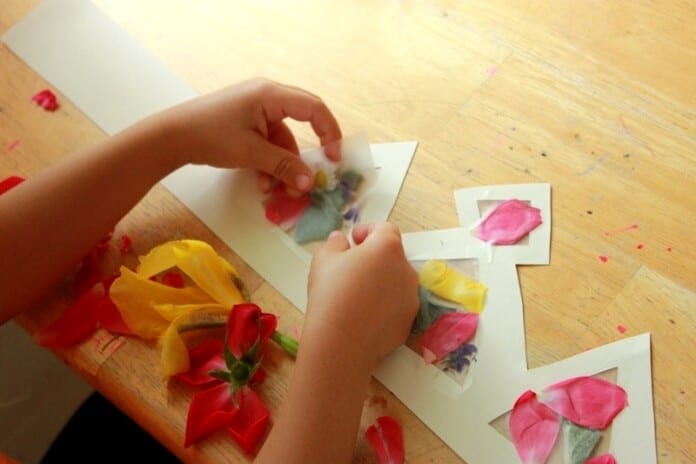
4. Cut small pieces of contact paper to overlap the inset sections of the crown and press over the flower petal stained glass.
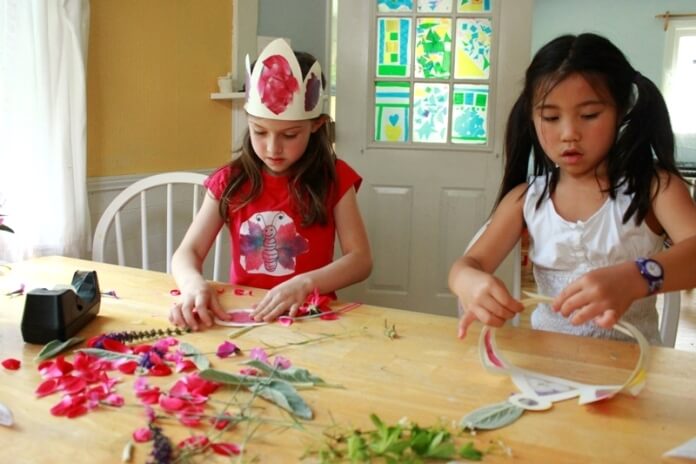
5. Wrap the flower crown around your head and tape in place.
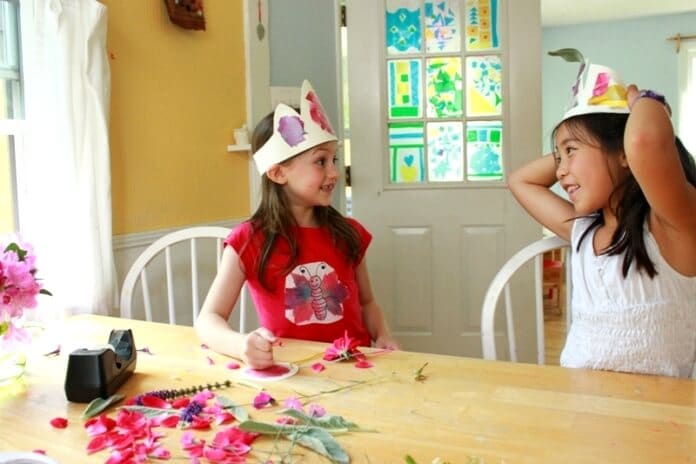
6. Admire.
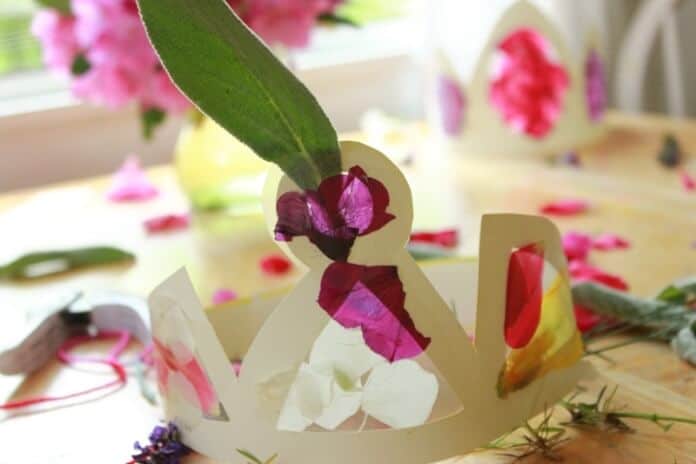
Aren’t the crowns just beautiful? I love the ethereal stained glass effect!
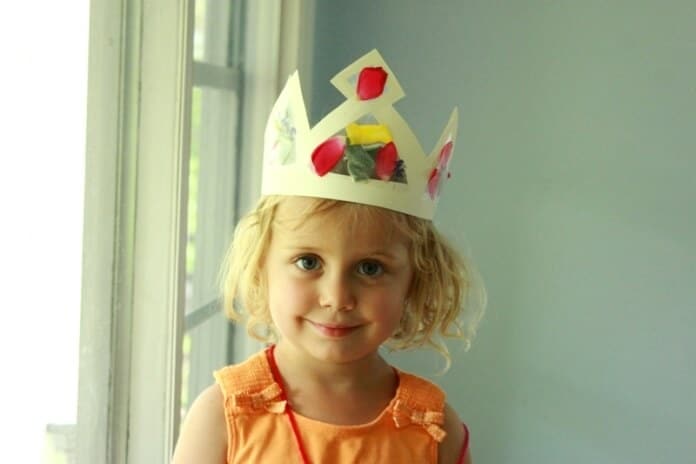
Perfect for flower princesses and princes, fairies, elves, and anything else your child can imagine…
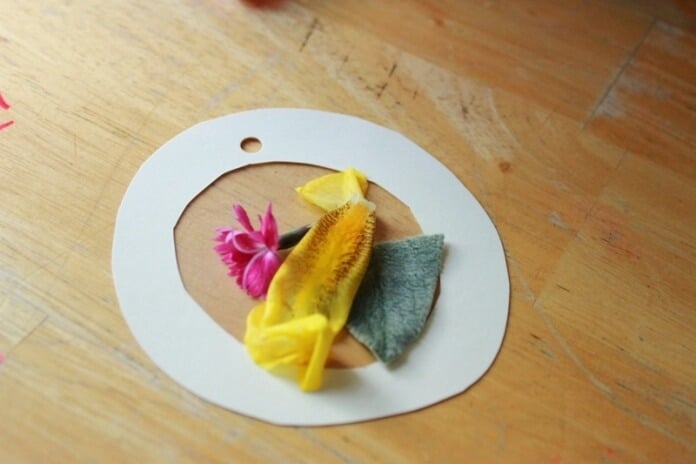
The kids made flower necklaces, too, using circles of leftover cardstock and the same technique.
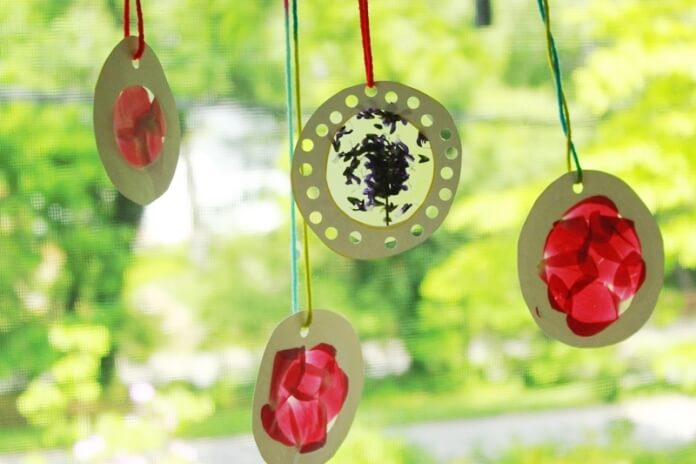
A hole punch and some yarn turned them into necklaces worthy of any flower princess…
You may want to make one of these crowns for yourself as well. Just sayin’.


