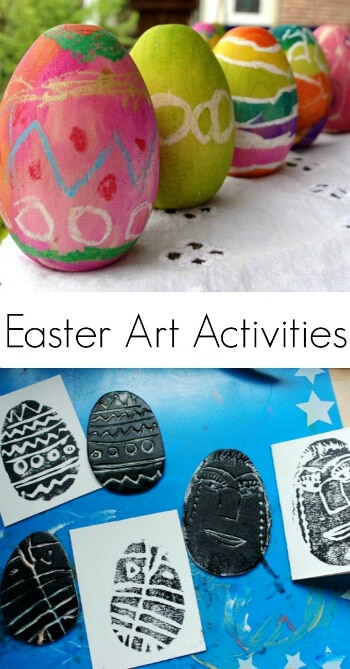
We’ve been doing lots of Easter arts and crafts these past couple of weeks!
Here are two more Easter art activities that we’ve been working on this week:
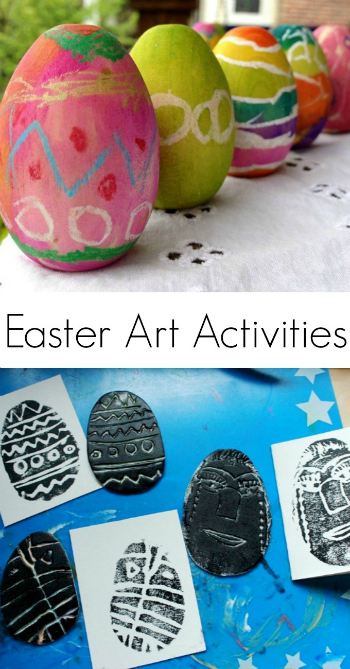
styrofoam printed Easter eggs
& painted wooden eggs
They are both easy and quick, so you still have time to do them with your kiddos!
TWO EASTER ART ACTIVITIES FOR KIDS
1. PAINTED WOODEN EGGS
These painted wooden eggs will long outlast the hard-boiled kind and are so much nicer than plastic eggs. They can be brought out Easter after Easter, given as gifts, and join the play kitchen for some pretend play.
Thanks to Asia from Fun at Home with Kids for inspiring us with her tutorial on DIY watercolor wooden eggs over at Modern Parents Messy Kids! She also has a fun post on games to play with painted eggs.
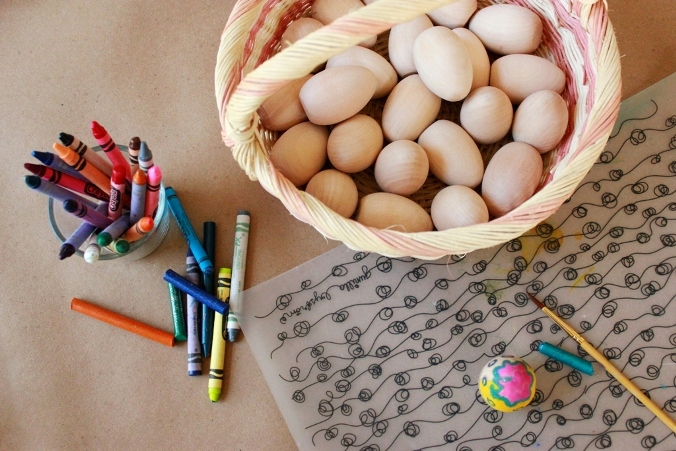
MATERIALS
- Wooden eggs (We bought our wood eggs from Snuggly Monkey but it looks like they’re mostly sold out. You can also order wood eggs from Amazon or buy them from a local craft store. I’ve even heard that they have them at Walmart.)
- Oil pastels (ignore the crayons in the photo above; we tried melted crayon on the wood eggs first before switching over to the easier oil pastels)
- Liquid watercolor paints
INSTRUCTIONS
1. Draw designs on your wood eggs with the oil pastels. The harder you press, the brighter the lines…
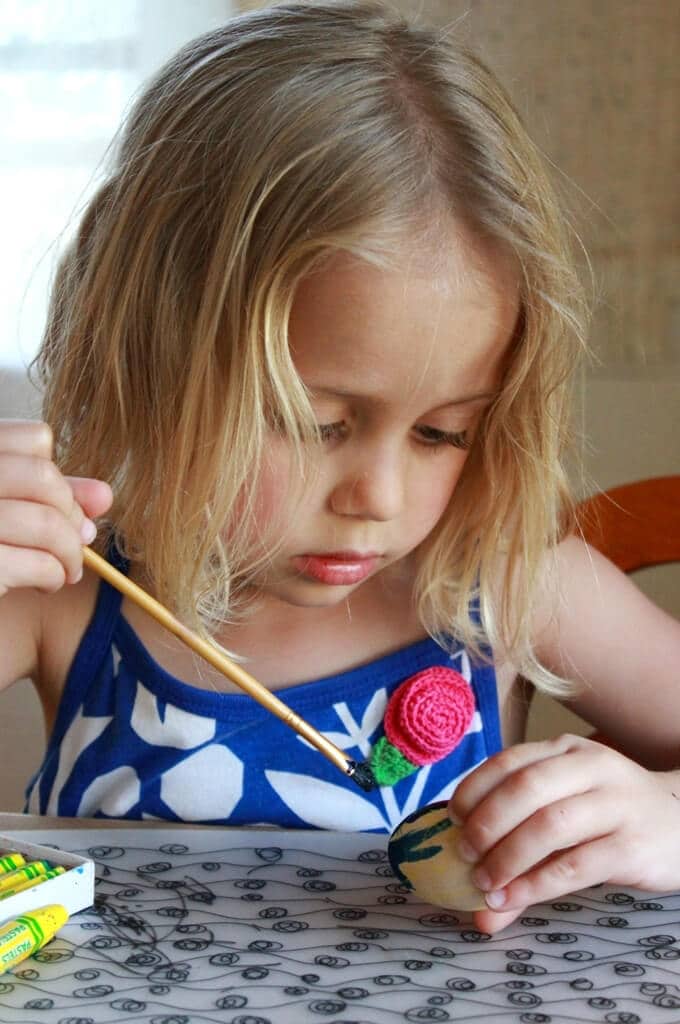
2. Paint over the oil pastel drawings with the liquid watercolors for a watercolor resist effect. Let dry.
3. Optional: You can add a protective coating of beeswax if you like. We didn’t, but this DIY wood creme over at Paint Cut Paste looks great.
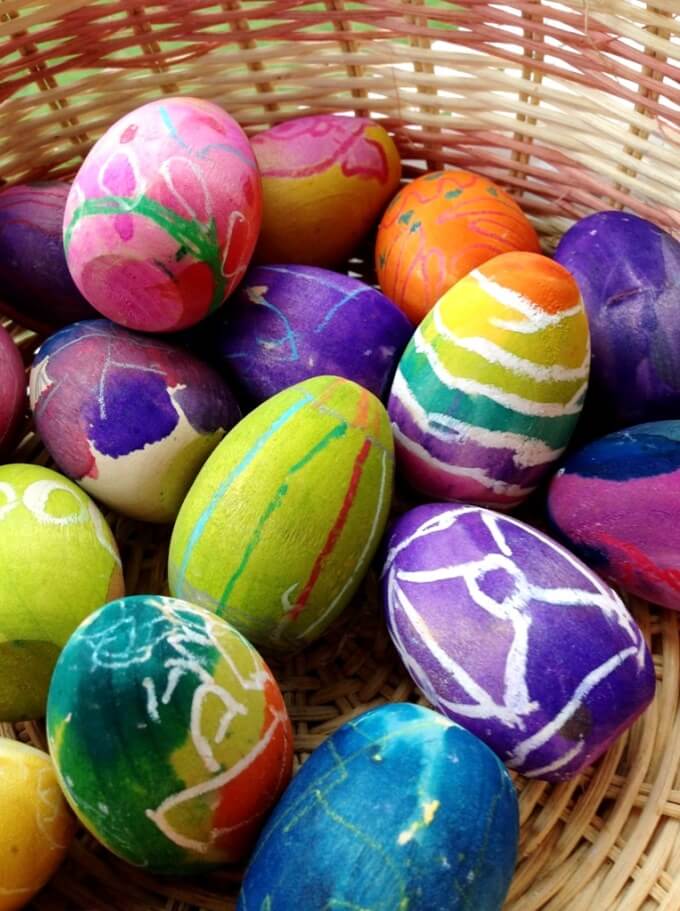
Admire your new colorful Easter eggs! Or give as a gift with an Easter card (see below…).
2. STYROFOAM PRINTED EASTER EGGS
We’ve printed with styrofoam several times now, but this is the first time we cut the Styrofoam into specific shapes first. Love the result!
MATERIALS
- Styrofoam sheet (we used styrofoam containers that were headed for the trash, but but you can also buy Styrofoam sheets specifically for printmaking)
- Pencil
- Trim roller or other mini paint roller (you can get this from the hardware store)
- Printing ink
- Hard rubber brayer (optional)
- White paper (we used watercolor paper)
- Scrap paper
- Colored pencils, markers, crayons, etc (optional)
INSTRUCTIONS
1. Cut the styrofoam sheets into egg shapes. Ours are about four inches tall.
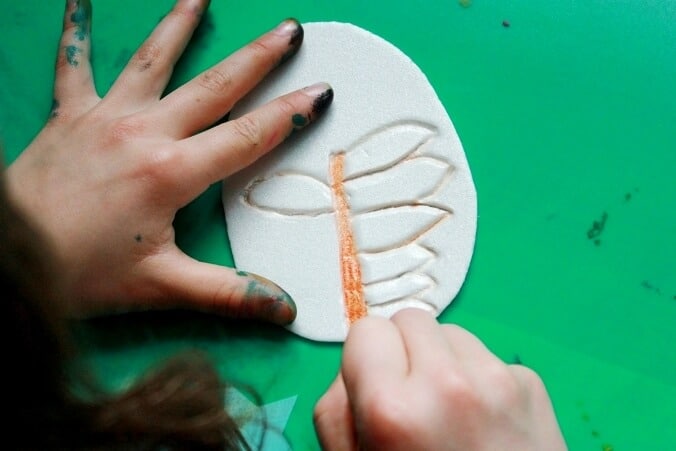
2. Use the pencil to draw Easter egg designs (or anything) in the styrofoam, pressing down rather hard.
3. Assemble your printmaking materials, including the paint roller, printing ink, a plate for spreading the ink (we use the bottom of an acrylic box frame, as in this monoprinting post), and papers.
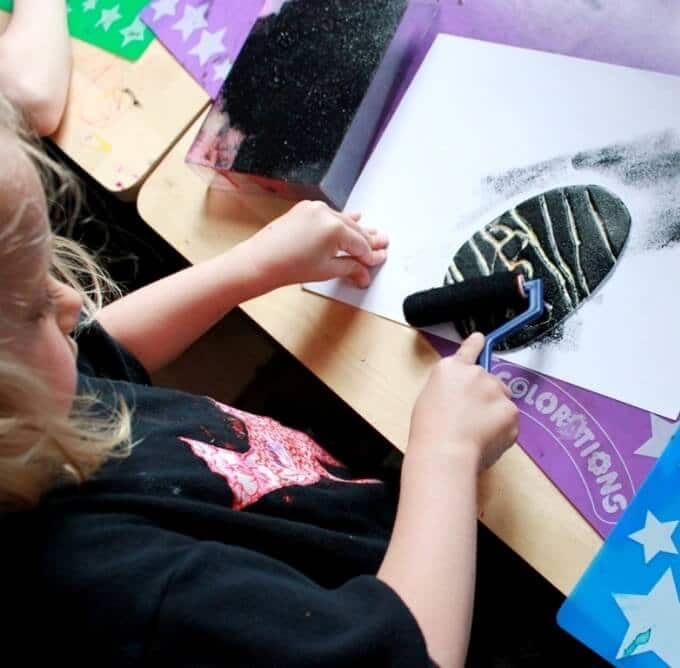
4. Squeeze some ink onto the plate and spread it around with the paint roller. Once the paint roller is coated with an even layer of ink, roll it over your styrofoam Easter egg (with a sheet of scrap paper underneath to catch the extra ink).
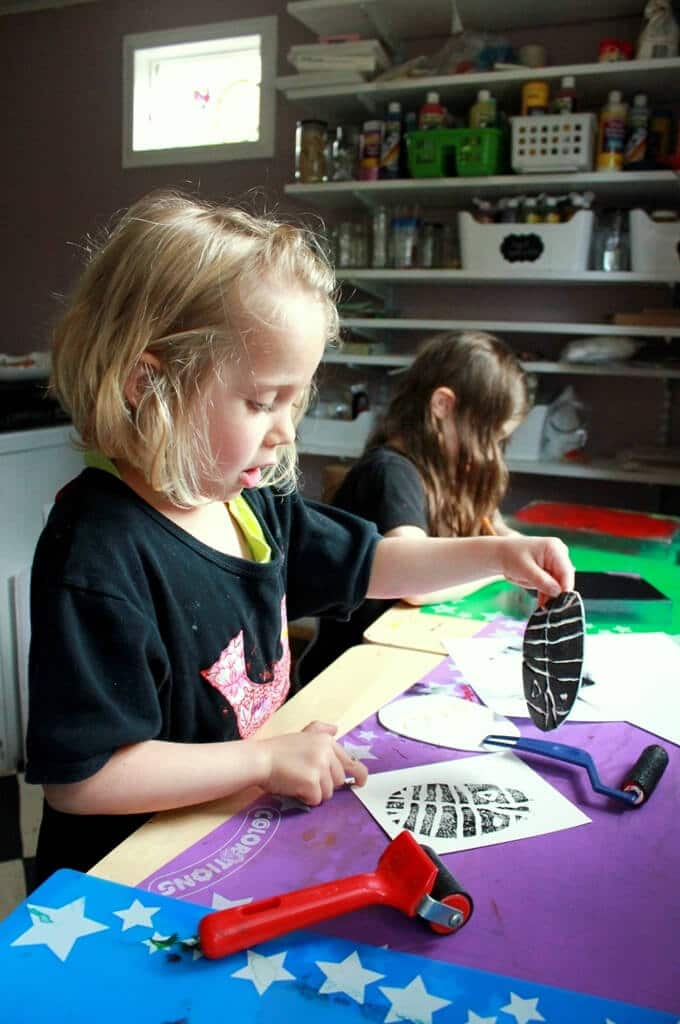
5. Position the styrofoam egg face down on your paper or a blank card and use the hard rubber brayer (or a spoon) to rub over the paper to help transfer the design. Lift the styrofoam egg to reveal the print!
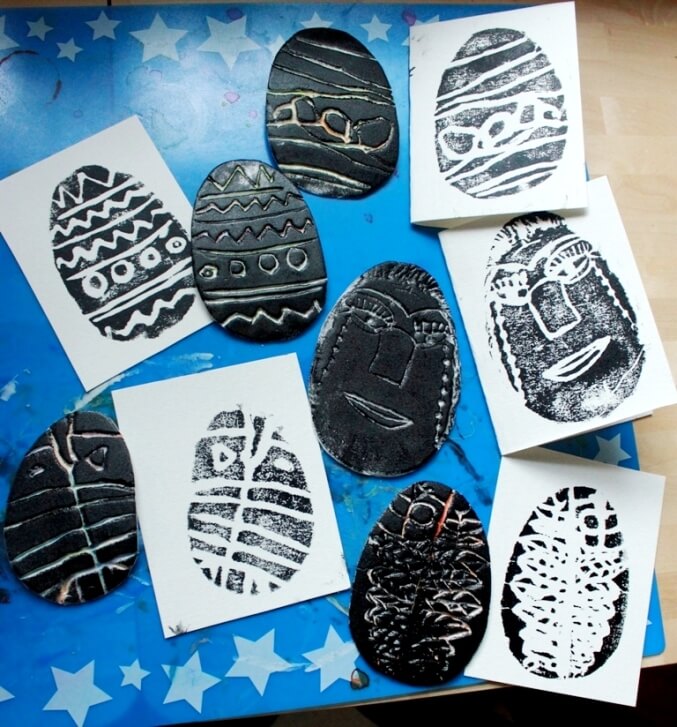
6. Repeat to create more prints as desired. Let dry. Maia made the two on the bottom right (a face and a fern), Daphne decorated the Easter eggs in the upper right and lower left, and I did the remaining one.
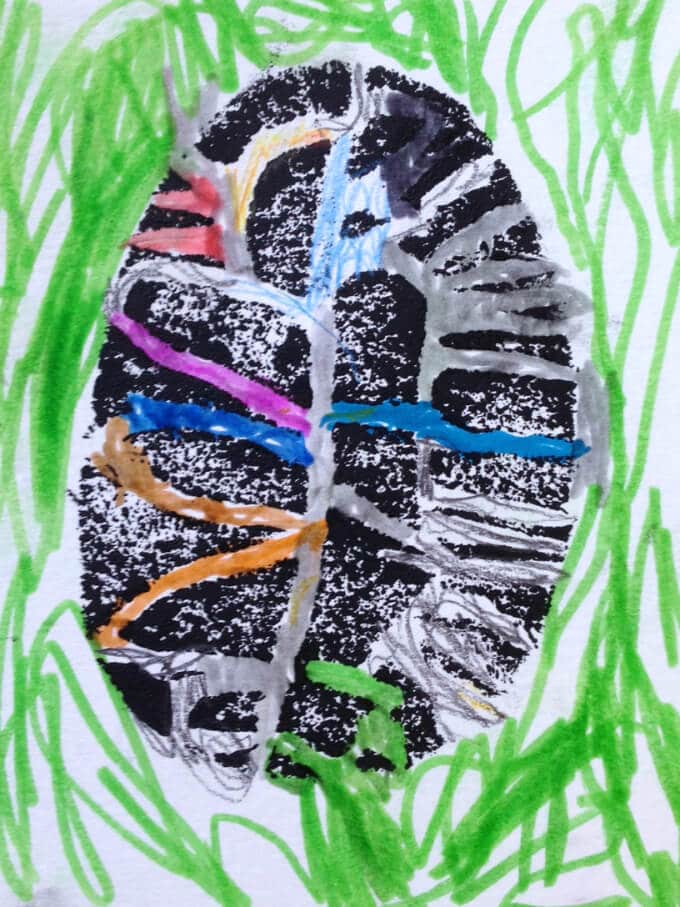
7. If desired, you can color in the Easter egg designs with markers or colored pencils as Daphne did here. The girls sent some as black and white and colored some that they delivered to a friend in the hospital. Both were lovely.

